
In the spirit of Martinmas, I've come up with something to share with you .

Now, I've never written a tutorial...so, bear that in mind as you wade through this long strand of mediocre photos and murky instructions. Hopefully by the end, though, you'll have enough clear information to create these lovelies for your own.


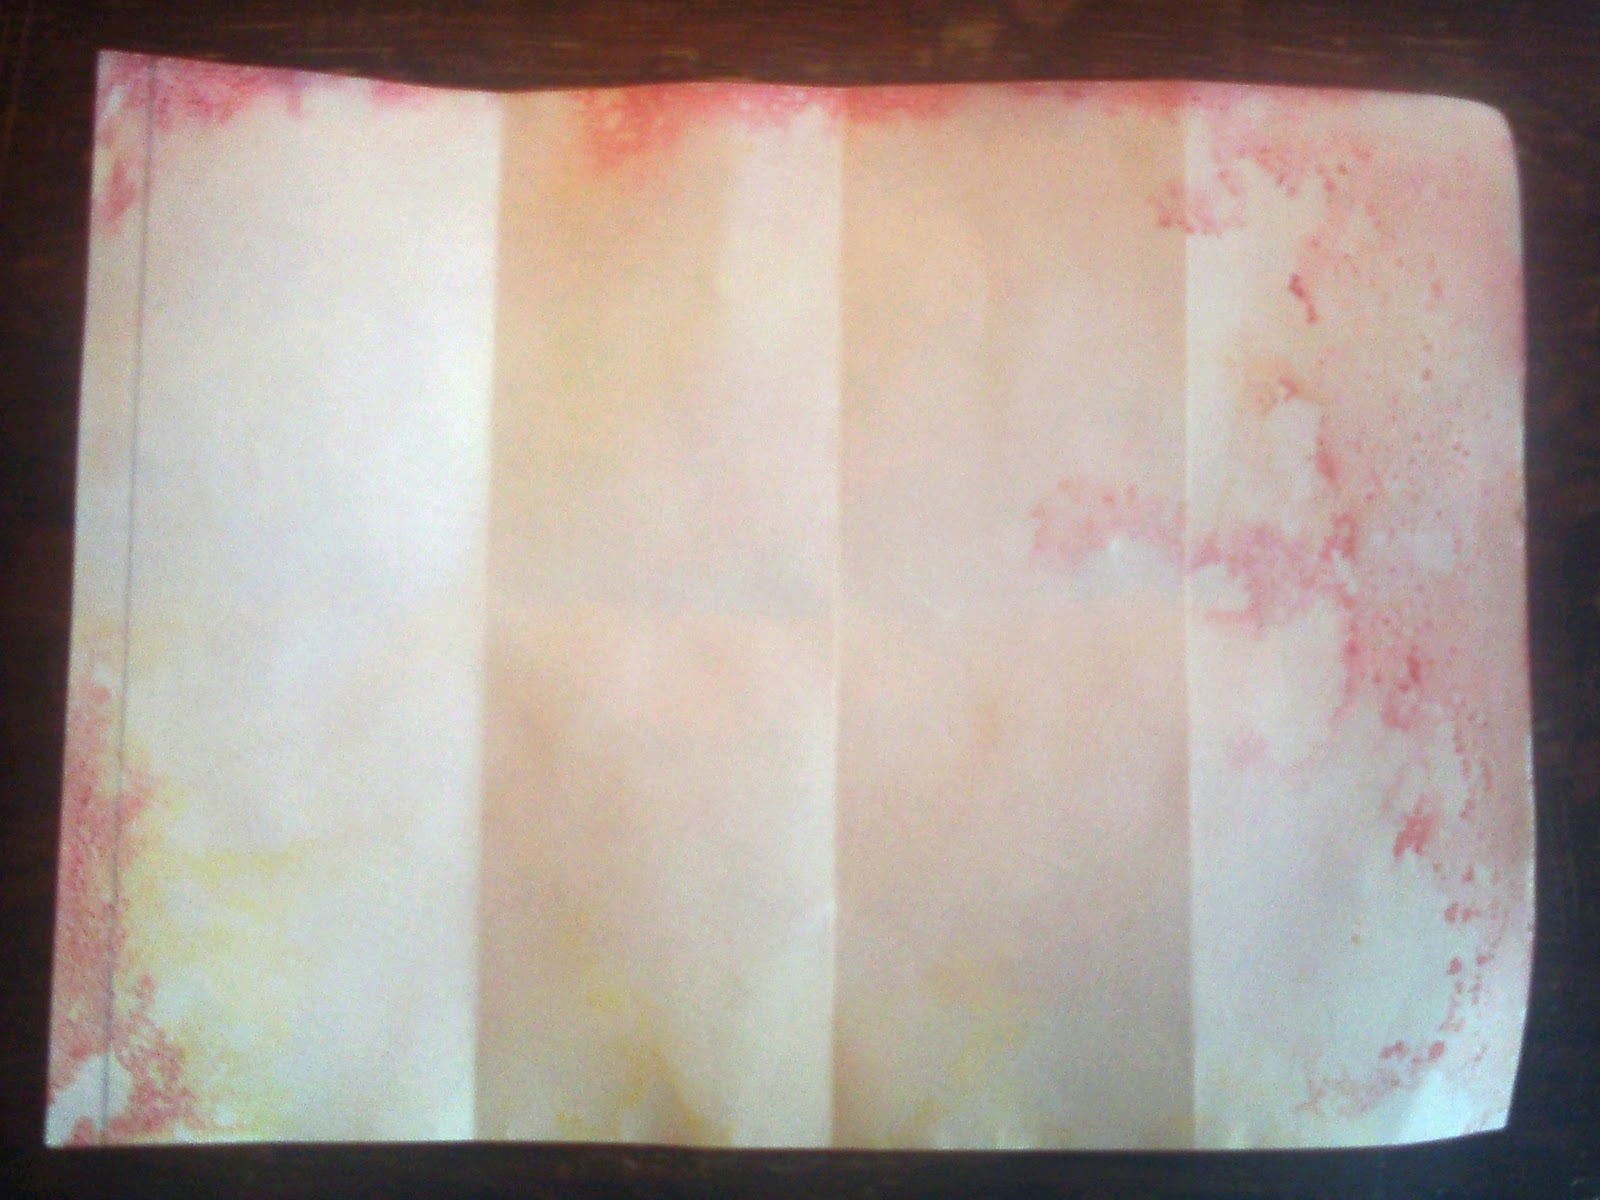
To make the paper more translucent, use a soft cloth or paper towel to gently rub oil over the entire surface of the paper, front and back. I just used canola oil, and I've used olive oil before, too.

You can hold the paper up to the light to see where the translucency has occurred and where you may have missed a spot. Wipe away as much excess oil as possible.

If you feel like there is still alot of oil on your paper, lay it between sheets of clean newsprint, then between layers of newspaper and weight it down with a big book for a while. This will blot away extra oil. When I am making several lanterns at a time, I oil all the sheets of paper and store them like this. Skip this blotting step if you feel that you were able to wipe enough oil off and your paper no longer tacky with oil.

On the back of the paper, mark a line about 1/2" from the edge. Fold the paper along that line To make the crease very flexible, fold first to the front, then to the back, then lay the paper flat again.

Now fold the paper from the right, all the way over to the 1/2" mark. Again, crease the paper sharply, folding both to the front and back. Every fold we make must be creased in this manner.

Fold in half again, up to the 1/2" line.
Does your paper look like this?

Now fold it horizontally in half. (Don't forget to crease it to the back and the front).

Fold again horizontally into fourths.

When you open the paper flat again, you should have 4 equal rows of 4 equal rectangles with that little 1/2" strip running down the left side. Next, use a straightedge to draw pencil lines diagonally across the rectangles from corner to corner...do this only for the 8 rectangles in the center rows as shown.

Do the same thing going the other way, dividing those center rectangles from corner to corner.

Crease the paper along these diagonal lines, folding to both the front and back as usual. This is tricky to explain, but not difficult to do.

Here is another picture of the same action. Just fold on all the diagonal pencil lines that go one direction, then fold on all the lines that go the other direction.

You paper should be looking rather like this. Go up to that top row of rectangles and fold it into thirds...like you are hemming fabric; fold it over a third of the way, then fold it over again.

Now use scissors to cut along the folds that separate the 4 rectangles in the bottom row. Also, let's trim away a couple of bits that we won't be needing. Can you see that I've snipped away a portion of the 1/2" strip down on the bottom left? And also up at the top left?

Here's a closer look at the top left corner...don't snip away too much!

Now the fun begins! "Hem" the top edge of paper by turning it down and gluing it along the folds you made earlier. Depending on what kind of glue you are using, you may need to wait for glue to dry between steps from here on out.

Bring the right side of the paper over towards the left. Glue the 1/2 strip (or tab, or flap, if that helps make this clearer) to the back of the righthand edge of the paper.

Here is a closer look at that step...I like to slip the very top of the1/2" tab/flap/strip in between the folds of the "hem" to make a neat finish.

Do you have something that looks like this? Let the glue dry before going on.

When the glue is set, you should have something that opens into a rectangular tube-like shape.

Here's another look from a different angle. This "hemmed" edge is the top of the lantern.

The flaps at the other end fold in to form the bottom. Glue these as you fold them on top of each other.

I like to cut a square of card stock to glue to the bottom. It makes it sturdier and gives it a more finished look.

And here is another square of card stock glued to the inside to finish that, too.

A heavy can or jar can weight things down while the glue sets. (That is the pasta sauce that I'm going to have to feed my family tonight because I've spent all afternoon goofing around with lanterns).

Once all the glue is dry, you can begin shaping the lantern. This is why we folded every crease both to the front and the back...so we could get this awesome shape. Beginning at the sharp corner edges of the lantern, press the diamond shapes so that they pop inward.

Work your way from diamond to diamond...all the diamonds should curve inward at their centers and point outward at their points. Just keep manipulating the paper until you are able to achieve this.

And there it is! Just the right size for a centerpiece or mantle decoration...or a Lantern Walk! You can make a string or wire handle to thread through holes punched in the top edge if you like. A tealight candle can be glued to the center of the bottom of the lantern...it is quite safe.

Happy Martinmas! Welcome Season of Light!


i have been in awe of these lanterns for some time now!! thanks for solving the mystery. if my eyes weren't going cross already tonight, i swear i'd start this immediately! ;)
ReplyDeleteThese are so pretty. I can't wait to make one or two or three. Thank you for sharing the how to.
ReplyDeleteWe are meeting up tonight to have a pot luck and lantern walk - I was wishing for this - and it came true.
Not too many people I know in real life that like to celebrate seasonal Waldorf celebrations.
Love, Nicole
Awesome! Thank you so much for the tutorial! They are beautiful!
ReplyDeleteBeautiful lanterns, thanks for the tutorial :)
ReplyDeletethese are beautiful, the folds bring a whole new dimension, thank you for sharing this cyrpress space!
ReplyDeleteBeautiful lanterns! Thank you so much for the tutorial! My 5-year old and I will be making these for Martinmas this year.
ReplyDeleteAnnemarie
thank you kindly for the tutorial. i can not wait to make these this year!!!
ReplyDeleteWe made lovely lanterns for a beautiful walk this evening--thank you for making it seem do-able, and then helping us do it!
ReplyDeleteLove your tute! My sister and I made bunches of these this week. Thanks so much.
ReplyDeleteThankyou for your generosity in sharing this. They are so beautiful. warmly Chontelle
ReplyDeleteSo EASY! Worked out great! Thank you!
ReplyDeletegracias buscava ya 10 dias esto
ReplyDeleteBeautiful lanterns and wonderful tutorial!
ReplyDeleteMany thanks for your tutorial
ReplyDeleteI posted a link to a group of natural waldorf toys in facebook http://www.facebook.com/groups/353963301361178/
I hope to make a lamp for my baby
ooh such a great tutorial! so easy to follow. Can I put a link on my blog? www.theelvesandthewoodbotherer.blogspot.co.nz? thanks Sam
ReplyDeleteSorry I missed this, Sam...please do share this tutorial. Everyone could use a little more beauty, light, and warmth in their life!
DeleteBeen making these all night for our school's lantern walk tomorrow. I'm almost finished 5. They're pretty but next year I think I'm going to suggest papier mache. I'm beat! Thanks for the tutorial.
ReplyDeletethanks a lot!
ReplyDeletei will try right now
great tutorial!! (: i love it. thank you!
ReplyDeleteThank you so much for this tutorial - something I've been wanting to do for a long time and this made it seem possible. Lovely blog.
ReplyDeleteI've made one. It's wonderful! Thanks a lot.
ReplyDeleteI've been meaning to thank you for this tutorial. I made eleven of them for my class this past Martinmas. I was so pleased with the outcome. The children and parents loved them. I used the children's paintings. Thank you so very much!
ReplyDeleteResultado encantador!
ReplyDeleteHi, I will be making these lanterns with children coming to the holiday activity programme in McGregor, South Africa, this July. They are beautiful and your tutorial is very clear.
ReplyDeleteThank you for the clear, detailed tutorial. Made a beautiful lantern for my son's school lantern walk this evening.
ReplyDeleteSuch clear instructions and beautiful pictures that go with the instructions. One year we tried to make this in our school for the lantern walk and we struggled to get the top and bottom correct. One question though, where do you get good quality water colour paper in the UK?
ReplyDeleteHave you tried Myriad? My suggestion (I've made this lantern for several years) is to look for paper that is at least 96 lb to 140 lb for its weight. 96 is easier to fold, though not quite as sturdy. I've skipped oiling the paper, as well, if that helps. Good luck!
DeleteYou literally saved my life with it. I went to a Waldorf school and loved making these lanterns, but I completely forgot how to make them, but have put them into my curriculum. Huge thanks and appreciation for your detailed description! <3
ReplyDeleteI absolutely love your blog and find almost all of your post's to be just what I'm looking for. can you offer guest writers to write content available for you? I wouldn't mind writing a post or elaborating on some of the subjects you write in relation to here. Again, awesome weblog!
ReplyDeleteonline homeware shopping
LOVE those lanterns! Great tutorial too, you make it look easy!
ReplyDeleteWe're a gaggle of volunteers and starting a new scheme in our community. Your website offered us with valuable info to work on. You've done a formidable job and our whole community will likely be thankful to you. coastal decor wholesale
ReplyDelete